Pillowcase shopper – easy tutorial
Claire June 11th, 2012
It’s been a long, long while since I have posted here hasn’t it? It’s always been my intention to start blogging again, but sometimes life gets in the way. However, as they say the journey of a thousand miles begins with the first step, so here’s mine – a super easy (if slightly wordy) tutorial to show you how to make a pillowcase into a shopping bag. 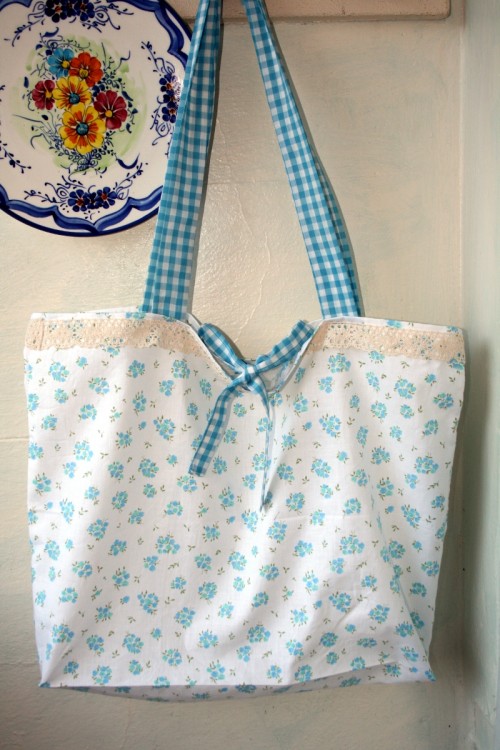
These are great for when you go charity shopping/ car booting as you can ram a significant amount of stuff into them, yet they fold down to next to nothing. Enjoy!
You will need:
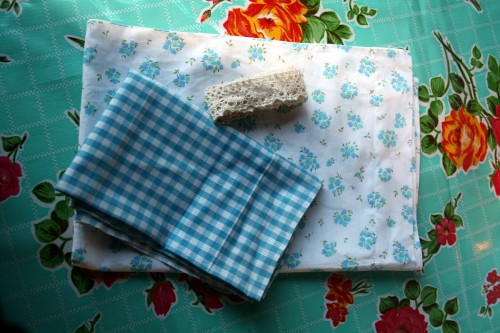
• A cotton pillowcase, or equivalent amount of fabric. Try to pick one that isn’t too thin or worn – you don’t want your shopping falling out! If you want to make a really sturdy bag you may want to line it, in which case you would need 2 pillowcases.
• Small amounts of a co-ordinating fabric for the straps and ties – I have used some gingham here, but if you wanted to make this project even quicker you could use cotton webbing for the straps and ribbon for the ties.
• Braid or lace (optional) – I like to embellish things – just because something is practical doesn’t mean it can’t be pretty too. I used some vintage cotton lace here as I had a small amount left, but you could use braid, ribbon, ric rack…. Or leave it plain. You need enough to go all the way round the top of your bag, so around 1.5 metres will be plenty.
• Sewing machine and matching thread
• Stitch ripper/ unpicker (optional but makes life a bit easier)
• Scissors
• Pins
• Tape measure
• Iron and ironing board
1. Make the bag
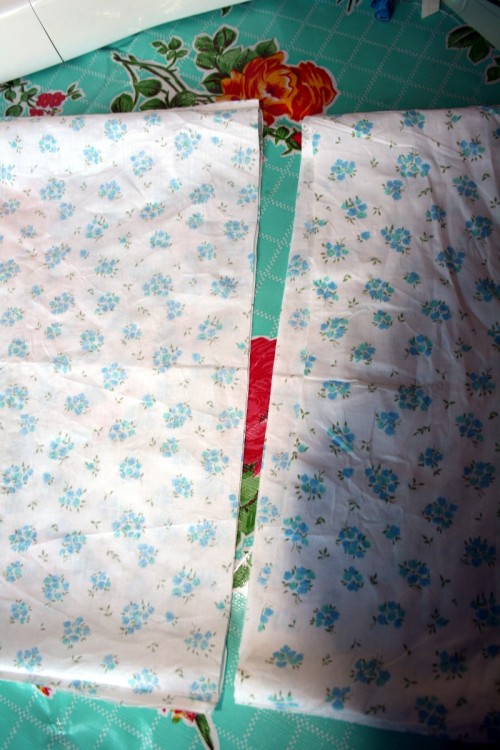
The first thing you need to do is give your pillowcase a good iron – especially if you have had it stored for a while. Once you have it ironed , you are going to chop off the end that is open, at the point where the inside “flap” starts. If you have a particularly long pillowcase, or it doesn’t have a wide folded over flap on the inside feel free to chop it where it looks reasonable. Measure from the sewn edge towards the open edge and mark with pins where you will cut, making sure you have a nice straight line to follow. Keep the discarded fabric, you may want to use it for another project.
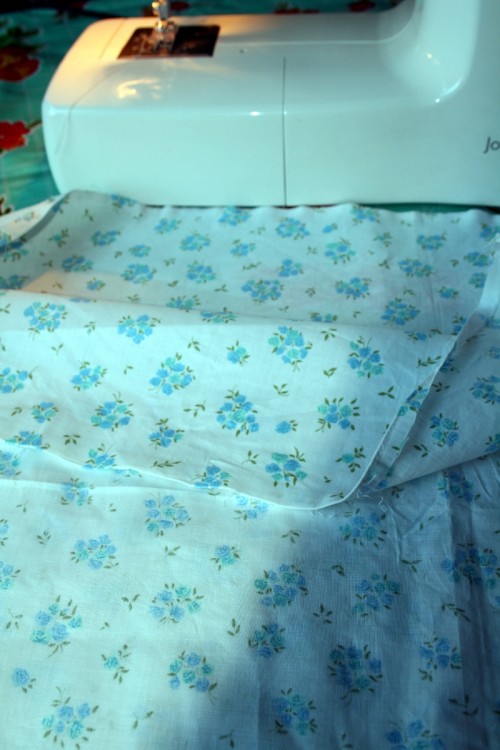
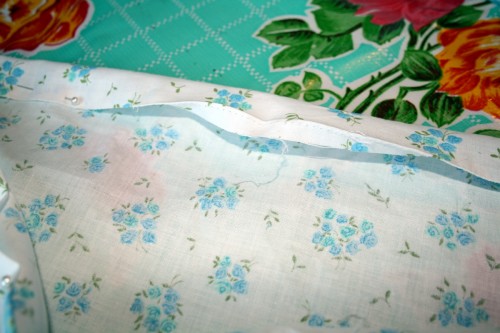
You now should have a long-ish square that will become your bag. If you keep your bag with the opening you have just cut on the right hand side as you look at it, you need to either cut or use the stitch ripper to open up the seam at the top, which will become your bag opening.
Turn your bag inside out, and pin the edge you cut, and sew with a 1.5cm seam allowance, leaving the top edge open.
You may want to sew all the way round the 3 sides to reinforce the stitching that it already there, but this is up to you. You now have a bag.
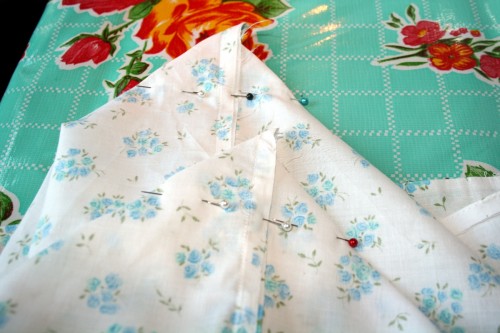
To make your bag have a wider bottom, like mine in the picture, you need to make corners on the bottom and sides. To do this, pinch the bottom seam and the side seam together so they form triangles – try and make sure you line up the seams accurately to get a nice, straight edge. How far down the line you want to sew is up to you, just remember the further down you sew the wider the bottom of the bag will be, and it will make it become more triangular in shape. I sewed mine down 5cm from the point, making sure both corners were the same.
2. Make the straps and ties.
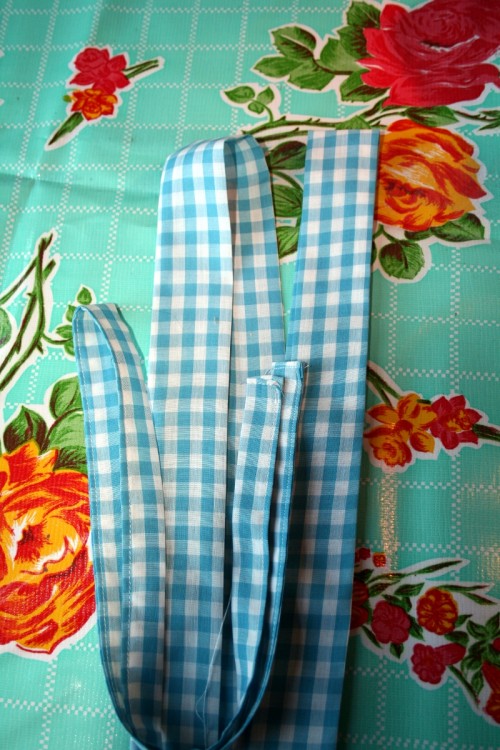
- To make the bag straps, cut 2 strips of fabric 12cm by 70cm (if you want shorter straps then try 12cm by 50cm) from your co-ordinating fabric.
- To make the ties cut a strip 9cm by 70cm (unless you are using ribbon / webbing, in which case you can skip this stage).
Fold each strap in half lengthwise, with right sides facing (so you sew on the wrong side of the fabric), and pin so you make a long tube of fabric. Sew with a 1cm seam allowance, and turn them both the right way out (you may find this easier if you use a chopstick or something blunt/ that won’t mark your fabric.
For the ties, fold the strip in half with wrong sides facing, and tuck in each raw edge about 1/2cm, pinning as you go. Once you have it pinned all the way down, fold in the ends at the top and bottom. Sew across the top, along the long edge and across the bottom. Give the straps and ties a press with the iron ready to attach to the bag. Fold the tie in half lengthways and cut, so you now have 2 ties with sewn ends.
3. Finish the bag.
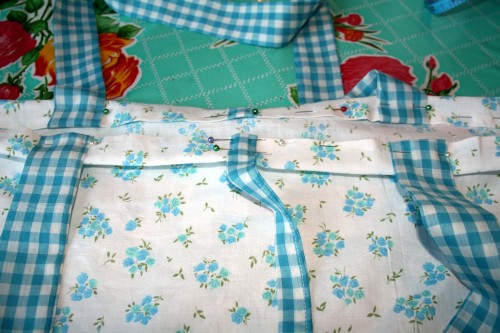
You need to make a hem at the opening of the bag – if you unpicked your pillowcase you will probably find that you have a little fold about 1cm in already made for you – tuck this under, and fold over again about 2.5cm so that the raw edge is enclosed. Pin in place.
Find the middle of your bag opening either by measuring, or folding in half lengthways. Tuck your ties (cut edge) under the hem, then fold up so that they stick out of the top rather than hanging into your bag. Measure 10cm away from your ties, mark and tuck under the edges of the straps, making sure that the straps aren’t twisted! To help with this I usually put the sewn edge towards the middle.
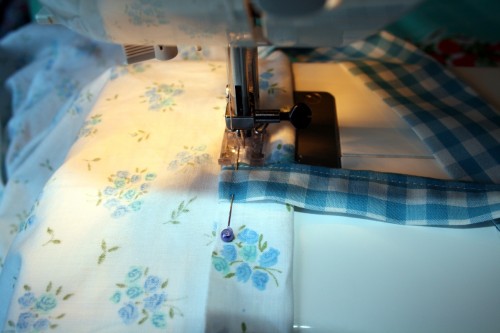
Sew, using a fairly small stitch close to the folded over edge, being careful when you go over the straps and ties, and overlapping. Take your time over this as you don’t want to hit the folded fabric at a high speed and damage your sewing machine!
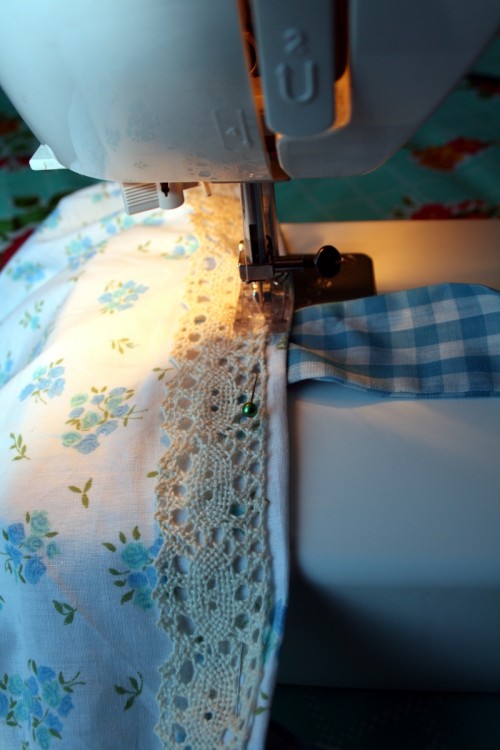
Now, turn your bag the right way out so you can attach the trimming. Starting at a side seam pin in place – I put mine a few millimetres from the folded edge, pinning all the way round, and tucking in the raw edge when you meet at the beginning again. Sew in place, handstitching the braid ends if necessary.
If you decide to not put any trim on you will need to still do a line of stitching to make sure your bag is strong enough and that the handles and ties are in the right place.Trim off any excess threads and give the bag a press.
To fold up for your handbag, fold the left side of the bag into the middle, fold in the straps and fold over the right side. Roll up from the end , cross the ties over at the top, wrap around and tie in a bow.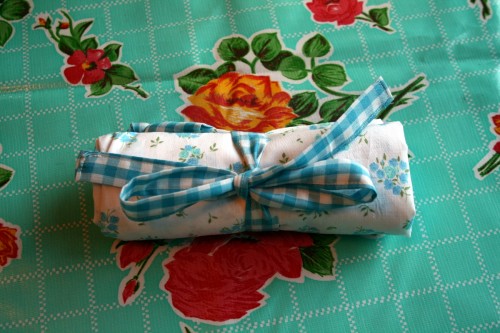
After all that sewing you’re ready to go shopping!
- Bags , pinky and boo , sewing and crafting , Tutorials
- Comments(0)
