Pimp my ride
Claire October 19th, 2012
Or in other words, a new shopping trolley bag. Doesn’t sound that exciting does it? Well this is something I have been meaning to do for the last few years and been going on about “I’m going to do that next week/ when I have some time/ right now if I could summon the energy”, but finally I put my money where my mouth is.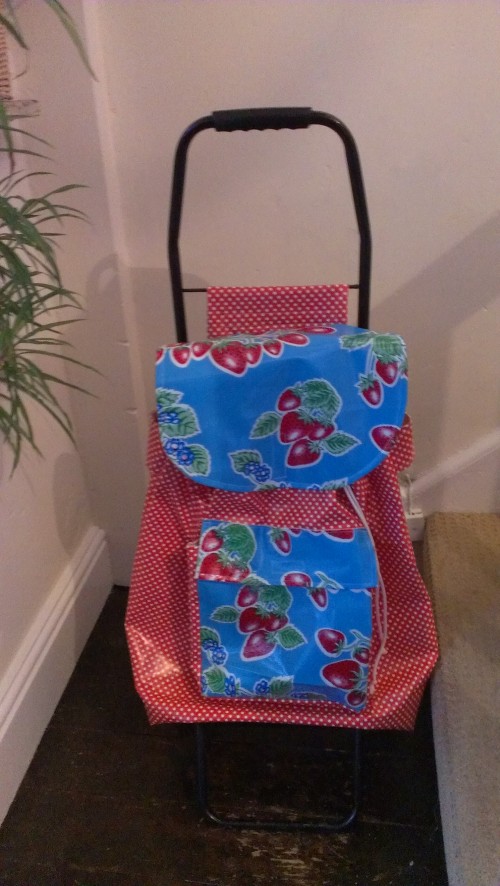
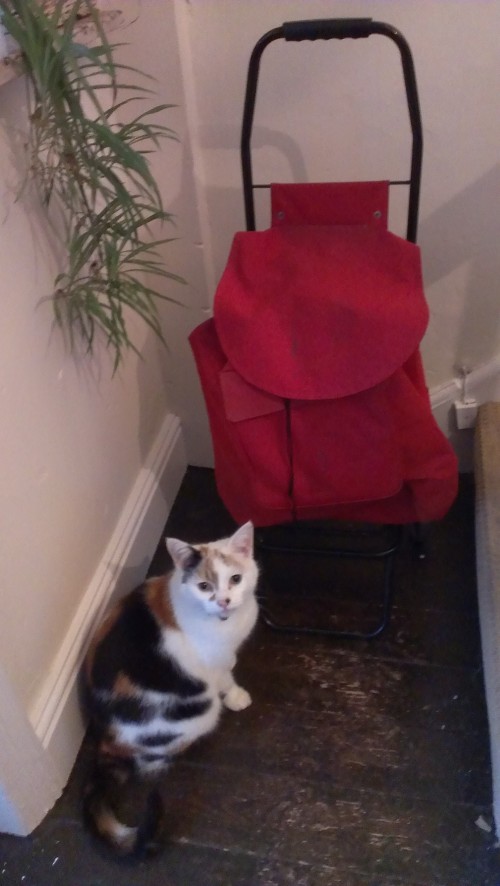
I got this shopping trolley second hand at a local market for £4 about 6 years ago, and I think in terms of cost per use it paid for itself within a couple of months.
(I love how Stella decided she wanted to be in the picture!)
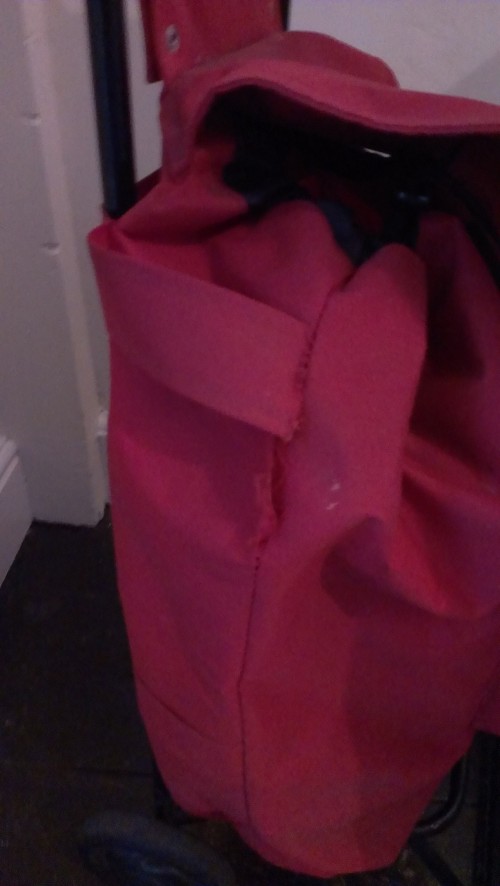
I know shopping trolleys aren’t cool or sexy, but when you don’t drive and want to do a big shop/ carry heavy things this has been brilliant and at times an absolute life-saver. Its also proved useful helping me lug things round for my classes; when I used to teach a printing course my trusty HP printer would be lobbed in it along with a ton of chemicals and rolls of paper, and off to work I would go. But it was looking sad. It never looked amazing but had progressively gone downhill over the last year or so. It didn’t help when Stella decided she would have a go at nesting in it for a while. Then the sides decided to rip…
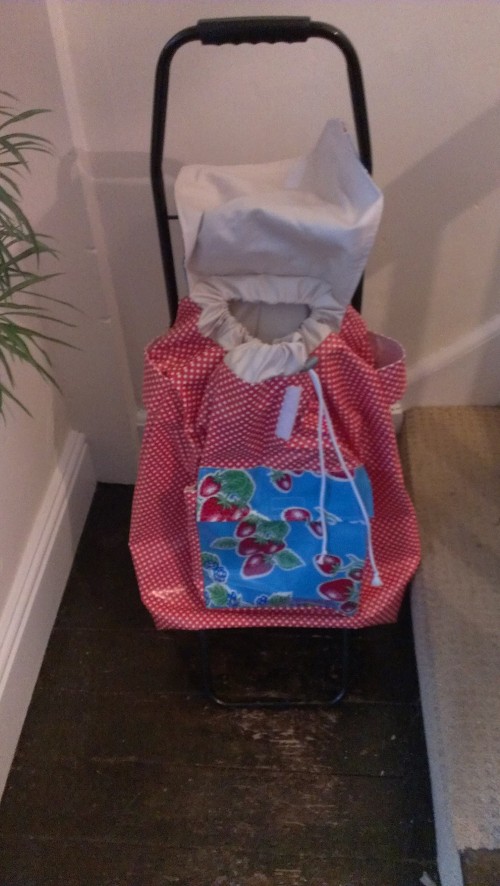
Finally last weekend I decided I had had enough and set about making a new bag identical to the old one. I’d actually bought the oilcloth and vinyl almost 2 years ago, but clearly had never got round to doing anything about it.
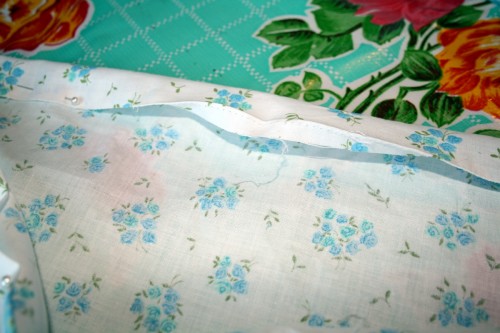
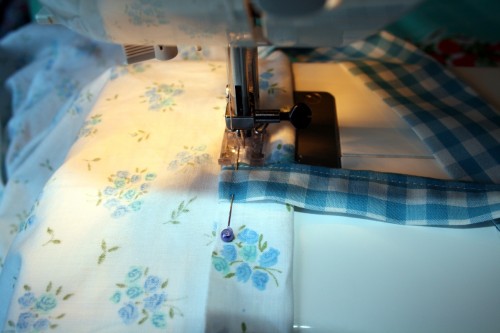
The bag itself was super simple, and the construction was quite easy to figure out too, even though I decided to line it (I think if I need to wash the bag by hand that would be fine). It also gives a bit of strength to the vinyl used for the main body of the bag (an eBay bargain) as it was quite soft, and doesn’t have a woven backing, unlike the Mexican oilcloth used for the pocket front and flap (that, as ever is from the amazing Viva La Frida). I lined it with a remnant of creamy/beige cotton curtain lining that I picked up locally for a couple of pounds. The only tricky part of all of this was wrestling it on the machine when I attached the lining to the bag sandwiching inside the drawstring, and that was only because of the sheer weight of slippery stuff I was putting through the machine. I used normal polyester thread (I did debate over using some heavier-weight thread but didn’t have it in the colour I wanted to made do) and a thick sewing needle (leather point) and that was fine to go through it all.
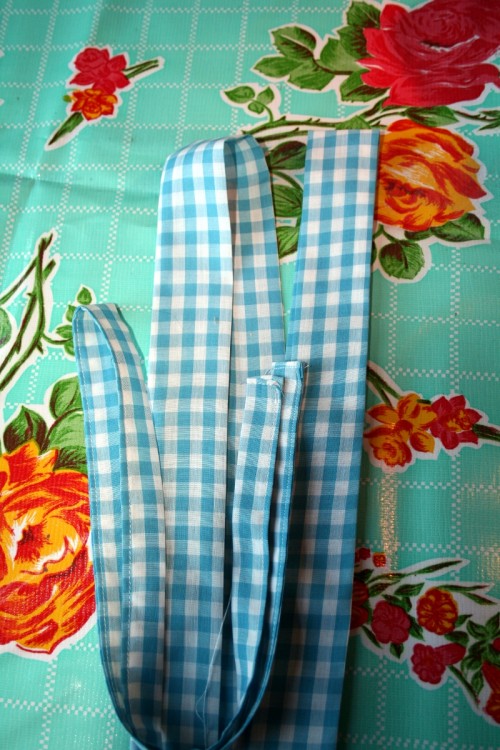
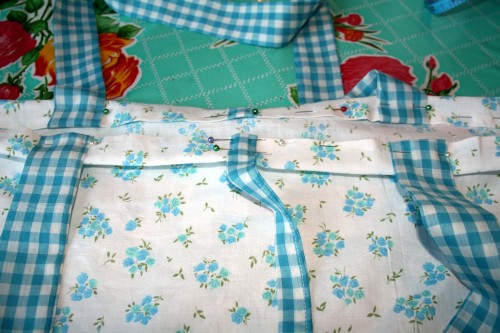
The bag attaches to the frame with straps round the back, and a strip of Velcro holding it in place at the top, and closes with a drawstring and toggle, with more Velcro on the pocket and flap.
David’s opinion on it is that it is far, far too bright, and he wants me to make a more subdued one for him to use when he helps with the shopping, and I have some of the same polka dot vinyl only this time grey with white dots that I can use (I would like some colour in too so I think some mustard yellow trim would look lovely as a highlight….. although that seems to deviate from the “subdued” request somewhat).
Anyhoo, I love it, and am really pleased with it and can’t wait to go shopping with it (any excuse eh?) and even have dreams of making matching bags for life, although I need more re-usable bags like I need a hole in the head.
If anyone is interested in making one of their own I am happy to share it as a tutorial, just get in touch and I will take pictures whilst I make the David-style one!
